

Nowadays, the importance of photo editing is higher than ever before. This is because a photo is worth more than thousands of words. The advancement of technology takes the photography industry to the next level. In this advancement of technology, SnapSeed plays an essential role in making your photo even more realistic. It offers numerous features to make your editing experience easier and enjoyable.
These features include RAW development, tune image, crop, rotate, perspective, brush, healing, vignette, lens, and so on. You will find all basic to advanced editing tools in the SnapSeed app. The dozens of tools and features can seem intimidating to many people. That’s why we will present a comprehensive guideline on using the SnapSeed photo editing app. So, don’t go anywhere, stay with us.
A Long Journey of the SnapSeed App

SnapSeed is a prominent photo editing software that was developed by Nik Software in June 2011 for the iPad. After gaining popularity among photo lovers, in August 2011, Nik launched SnapSeed for the iPhone. Later, this app was announced for Microsoft Windows on February 27, 2012.
After that, Google took over the SnapSeed app and released it for Android in December 2012. Nik released SnapSeed 2.0 in April 2015, for iOS and Android, with new tools and user interface. Since its release, the popularity of SnapSeed has increased day by day.
This app is completely free to use on both iOS and Android devices. Although there is no mac version of this app, MacBook users can download SnapSeed for Mac through an Android emulator. This way, you can run any Android apps and games on your MacBook.
Why You Should Use SnapSeed
SnapSeed comes with outstanding editing tools and features that make photo editing tasks easier. Below, we have presented some significant features of the SnapSeed app.
- Unlike any other ordinary editing app, you can adjust your images with a single tap through the Auto Correct feature on SnapSeed.
- Its Tune image feature enables users to tweak pictures to absolute perfection.
- SnapSeed offers the selective objective feature to enhance the particular object or area in your images.
- It contains numerous fun and innovative filters, including Drama, Vintage, Grunge, and Tilt-Shift, to give an attractive look to your images.
- SnapSeed supports JPEG and RAW files, whereas most editing apps don’t support RAW files.
- The healing feature of the SnapSeed lets you remove any unwanted object from your image easily.
- It also allows you to blur specific areas on your image through the lens blur feature to increase the beauty.
How to Use the SnapSeed Photo Editing App

Using the SnapSeed photo editing app is not as tough as you think. For your convenience, below, we have explained how you can use this excellent app.
Import an Image in SnapSeed
Click on the Open at the left-top corner of the screen of the SnapSeed. Pick the photo you wish to edit and tap the pencil mark. After that, you will see the main tool’s interface. Here you can select the editing function and swipe different tools to edit your image.
Brightness
If you want to make your photo bright and cheerful, adjust the brightness function. Choose the Tune image and swipe up and down to lighten up your image. Swiping your finger on the right will brighten your image, and the left will darken. This way, you can give a beach vibe to your photo within a few seconds.
Saturation
In the Tune image function, you will also see the saturation option. With saturation, you can add color to your image without looking fake or edited. Swiping to the right, the image seems more colorful and attractive. This way, you can make the image look like painted hills in Oregon.
Contrast
If your image looks washed out, using the contrast, you can add more depth to it. Adjust the contrast under the Tune Image tool. You can scroll your finger up and down until you find a good contrast on your image. Swiping on the right will add more contrast to your photo on the left to make it more washed out.
Ambiance
If you cannot adjust the brightness, contrast, and color, using the Ambiance will be good for you. Select the Ambiance option from the Tools section and swipe right and left. Once you swipe to the right, Ambiance will automatically brighten, add color, and remove contrast on your image. On the contrary, swiping to the left, the photo will seem less light and color, but the contrast will be much.
Crop
Cropping is an excellent way to pick a specific area on an image just in a few seconds. To crop your image, select the Crop option from the Tools screen. Drag your fingers and move inwards until you get your desired look. Using this function, you will get rid of empty space on your image.
Healing
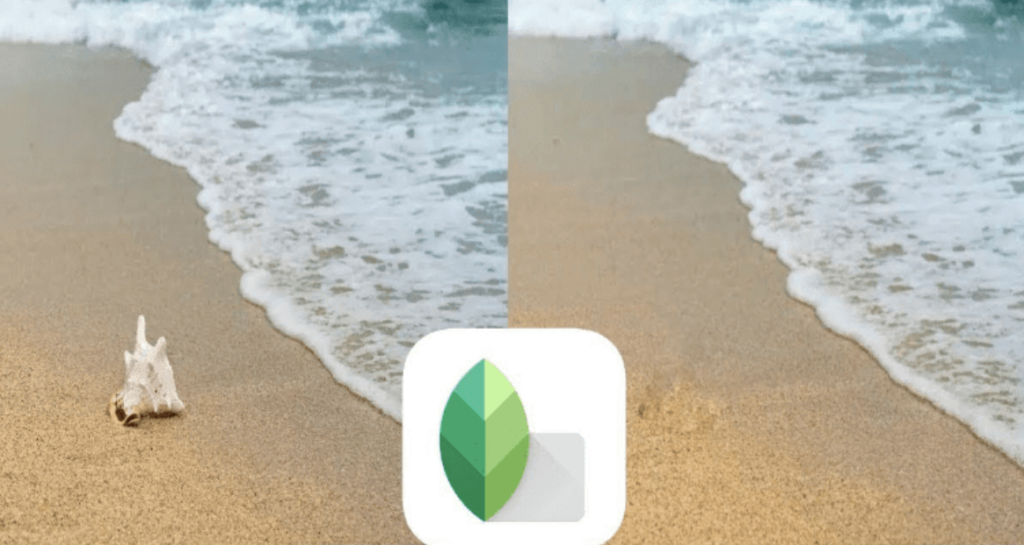
Healing is the coolest feature that helps to remove any unwanted area on your image. To use the feature, choose the healing function under the Tools screen and zoom the area where the unwanted object is located. After that, simply tap or drag your finger over the area or object you wish to remove.
Brush
The Brush function of the SnapSeed enables you to edit specific areas on an image. This tool helps adjust saturation, temperature, exposure, and dodge in a particular area without editing the entire picture. Choose the brush tool and set saturation at +10. Now drag your finger over the area where you want to add color to your image. You can change the saturation based on your needs.
Selective
This feature also helps to modify a specific area of images with adjusting brightness, contrast, and saturation. Select the Selective function and place dots on the area where you want to change. After that, swipe right and left to enhance the color of your image. You can also add more dots by clicking on the + icon.
Perspective
With the perspective function, you can add more space or extend specific areas of an image. To do so, select the perspective from the Tools menu. Tap the area and drag insides until you get the desired look. SnapSeed will automatically fill the black area on your image.
White Balance
The white balance tool lets you change both tint and temperature in one interface. Choose the white balance function and swipe your finger up and down. To adjust the temperature, swipe right and left to add a cool blue tone to your image.
Save the Image
Once you have finished editing your photo, you have to save it. For saving your edited image, tap on the Export at the bottom of the interface. You will see three different options: Save, Save A Copy, and Export. Save option will overwrite your original photo with the edited one. Save A Copy will allow you to save your picture as a separate photo. On the other hand, you can save your image as a separate one with permanent changes with the Export option.
Conclusion
SnapSeed is a widely used photo editing app that contains basic editing tools to advance. It is designed with a unique interface where you will get all editing tools in one place. That’s why this app is suitable for both amateurs and professionals who want to edit their photos.
However, some people may encounter complications due to its large number of tools. For that, through this article, we have provided adequate information on how you can use the SnapSeed app. Following the simple procedure explained above, you can edit your desired photos easily through the SnapSeed app.