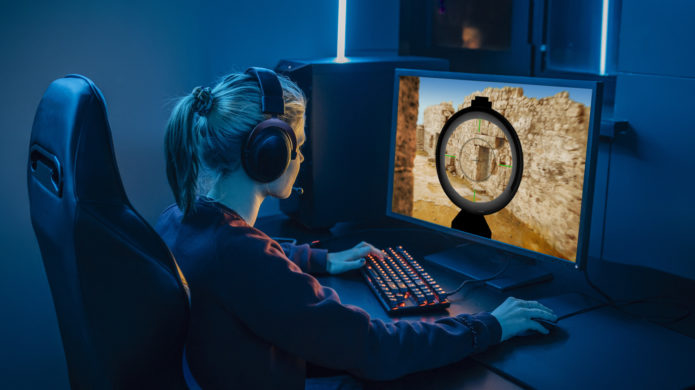
If you’re the proud owner of a shiny, new gaming monitor, you probably chose it for its performance. The packaging declared its astonishing frame rate capabilities in big, bold letters, and as you loaded it into your cart, you imagined the extra speed and dexterity that high refresh rate a new machine would enable. But things quickly went sideways. You brought it home, peeled off the plastic, took in that new tech smell. Then, after hooking it up, you booted up your favorite game, ready to tear through enemies and bosses with newfound power. Except, that didn’t happen. Frames started dropping, and as you suffered a game loss, you start to wonder if your fancy new monitor is defective.
****
The good news is your monitor is (probably) fine. The bad news is you’re likely using it wrong. When integrating a high-refresh-rate gaming monitor with your PC, it’s important to tune its performance in combination with your Windows and Nvidia settings in order to take advantage of those extra hertz. For the purposes of this guide, we’ll be discussing how to configure a high-refresh-rate monitor with Windows 10 and 11 with an Nvidia GPU. We won’t be discussing multi-monitor setups, as they can be a bit more complex. Also, before we get started, make sure you know the basic specs of your monitor, most importantly its native refresh rate and resolution. With those disclaimers out of the way, let’s dive in to get your monitor pumping out frames at top speed.
****


