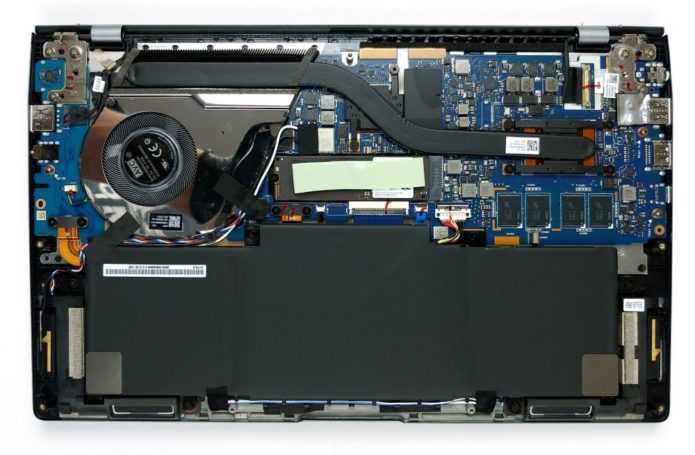
When we had our in-depth check on this notebook, we noticed that the cooling solution is not really efficient, especially for the hardware inside.
1. Remove the bottom plate
The first thing you need to do, to get inside of the machine, is to remove 7 Torx-head screws. Then, pop the back rubber feet with a sharp plastic tool to find two Phillips-head screws. And after you undo them, you can pry the bottom panel away.
…
Continue here:
https://laptopmedia.com/highlights/inside-asus-zenbook-14-um433-disassembly-and-upgrade-options/


